Annual Render & Facade Maintenance: The Ultimate Checklist
We all know our car needs an annual service and our health an annual
check-up. But how many of us do the same for our most expensive asset?
Our home is under daily relentless attack from the sun, wind, rain and
minor seismic vibrations.
In construction, damage never appears overnight. A huge render
detachment in winter started as an invisible hairline crack the previous
summer.
Prevention is always cheaper than a cure. That's why we've created the
ultimate annual maintenance checklist, so you can spot
problems in their infancy.
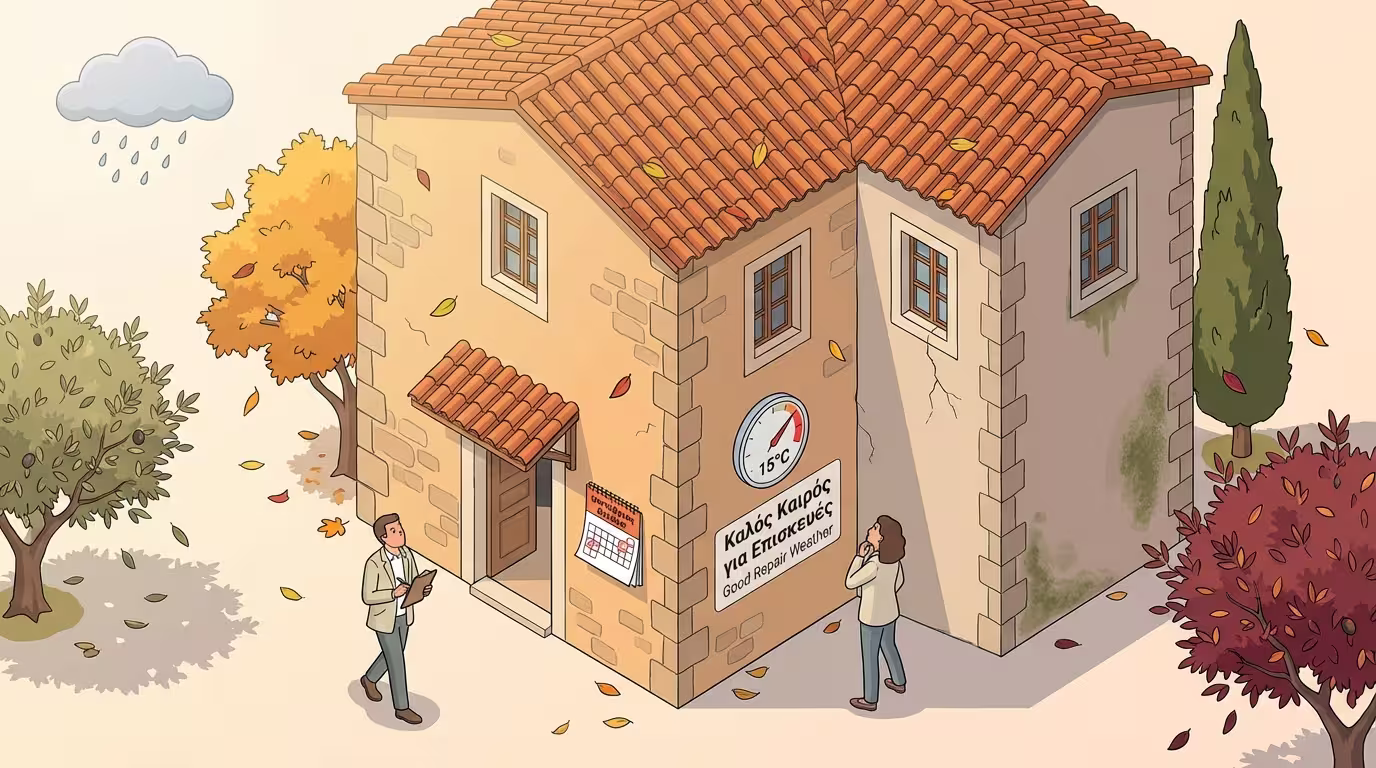
1. The Ideal Season: The "Golden" Autumn
The best time to inspect your home is in mid-autumn (October
- November).
💡 Why Autumn? The reason is simple: Summer has already caused
the maximum thermal expansions and contractions (so the cracks are at their
widest) and you still have a "window" of good weather to make minor repairs,
before the heavy rains and frosts of winter begin.
2. The Checklist for Exterior Facades & Connections
Arm yourself with a torch, a small hammer (for the sound test), a
notepad and take a slow walk around the perimeter of the house,
checking the following key points:
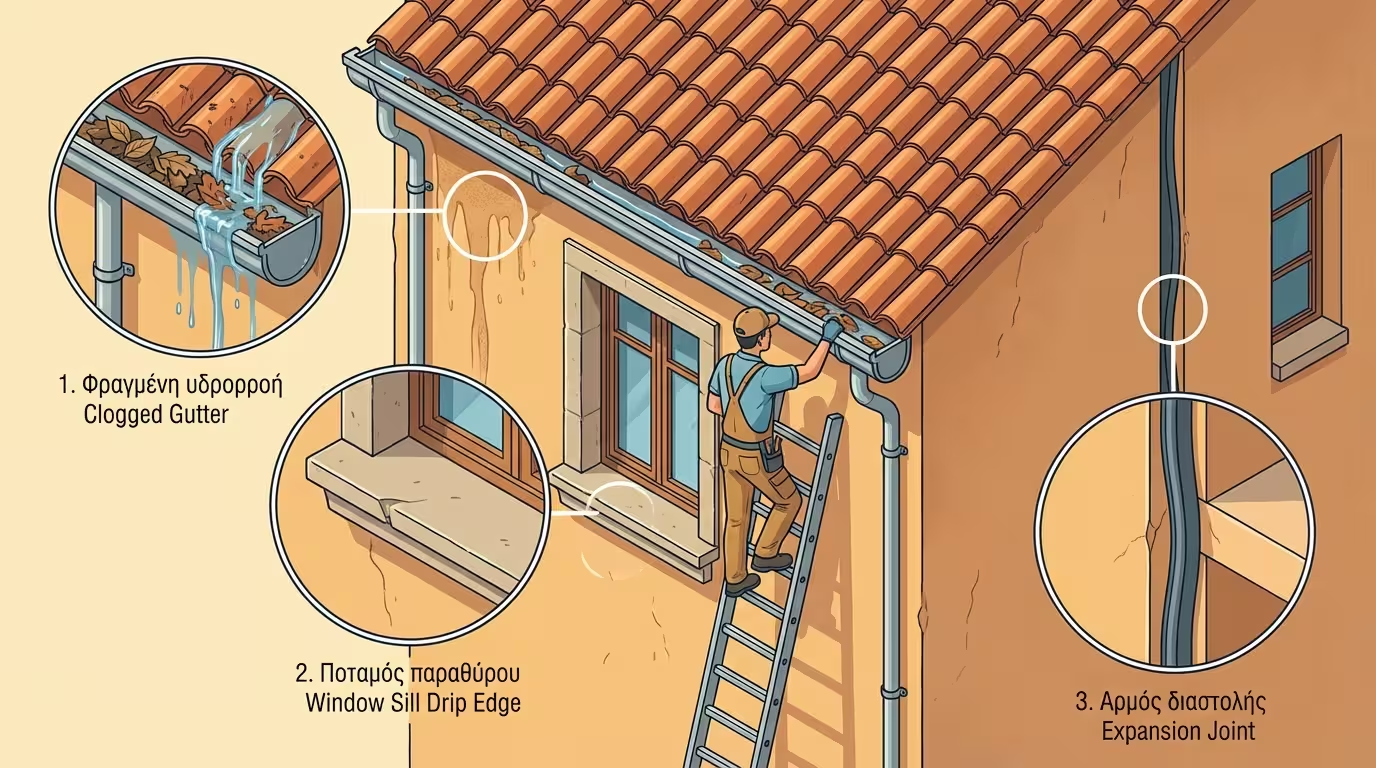
☂️ 1. Checking Gutters & Cornices (The "Umbrella")
80% of render problems start from water running incorrectly from the
roof.
Cleaning Gutters: Make sure the downpipes are not blocked
by leaves. If water overflows, it will run down the render.
Checking Drip Edges: Look under the marble window sills
and balconies. Is there a groove (drip edge) that cuts off the drop?
Is it blocked by paint?
Roof Parapets: Check the top of the roof terrace walls.
If there are cracks there, the water will run "vertically" down inside
the bricks of the house.
🔗 2. Joints and Seals (The Connections)
The points where render meets other materials are the weakest links.
Around Aluminium Frames: Has the old silicone between
the frame and the render dried up, shrunk or cracked? If so, it must
be cut out and replaced with new polyurethane mastic.
Pipes & Cables: Check the points where air conditioning
pipes or power cables pierce the wall. Are there gaps around them?
Expansion Joints: If the building has large vertical
joints, make sure the elastic material inside them is not torn.
3. Checking Render & ETICS & Damage Assessment
The "skin" of the house must be unbroken and resilient against
external forces. Look carefully for early signs of material fatigue or
hidden structural movements.
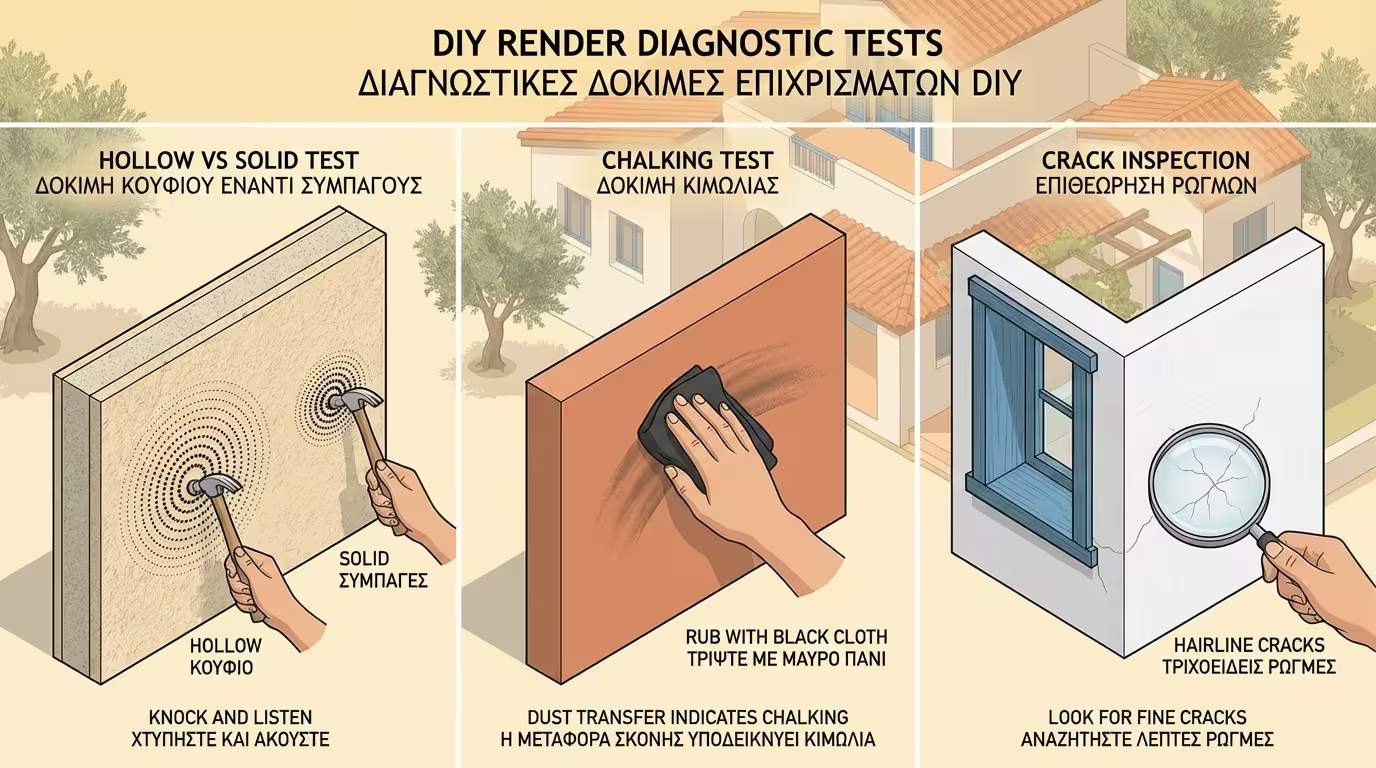
🔍 Spotting Hairline Cracks
Search carefully around the corners of windows and doors, where
stress concentrates. Note down any tiny fissures you find to seal
them swiftly with elastomeric mastic.
🔨 The "Hollow Sound" Test
Tap lightly with the hammer (or the handle of a screwdriver) on the
spots you see bumps or "bellies" on the wall. If it sounds hollow,
the render has detached internally and risks falling.
✋ Checking for Chalking
Run your hand (or a black cloth) over the coloured render. If the
cloth fills with coloured dust, the resins have degraded and been
destroyed by the sun. The wall needs waterproofing or repainting to
restore its protection.
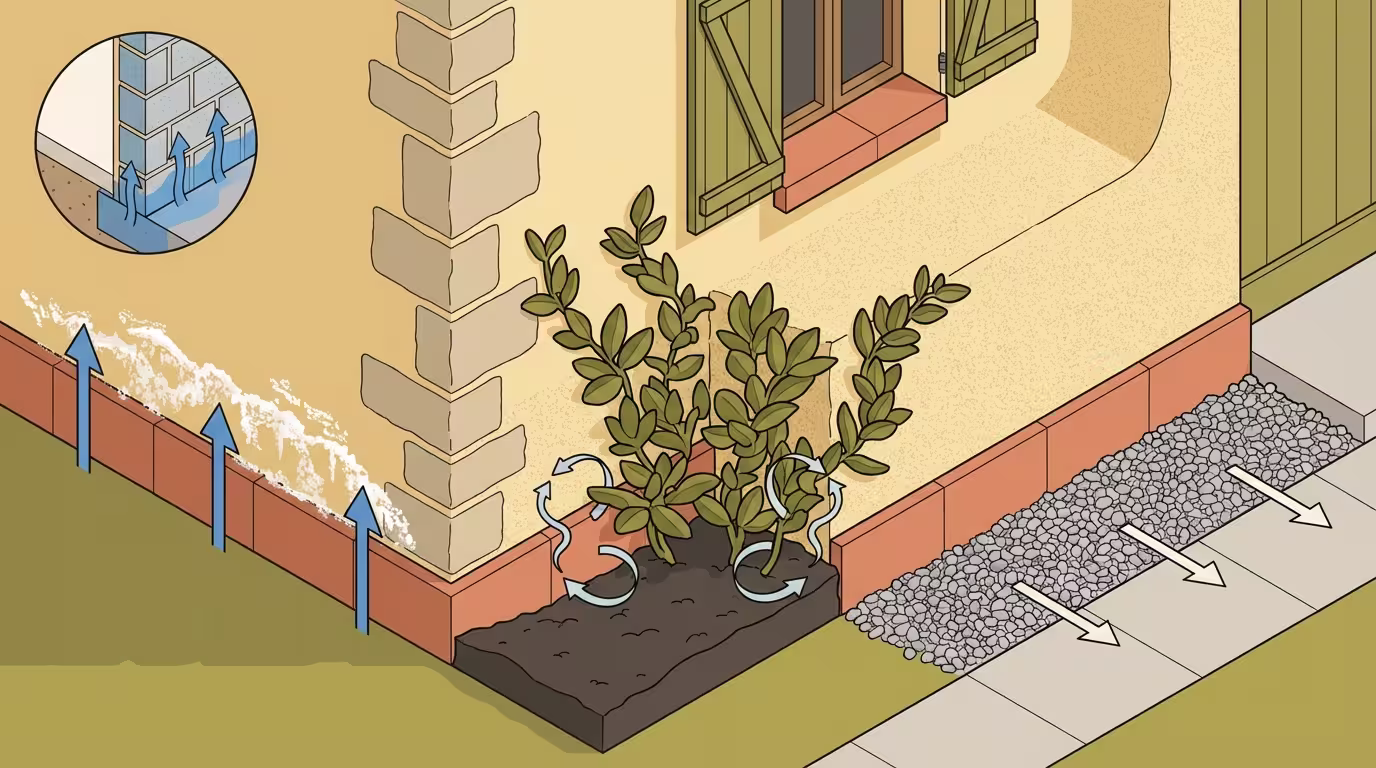
4. Base, Foundations & Damage Assessment Table
The first metre from the ground takes the most punishment. Rising
damp, rainwater splashing off the ground and back onto the wall, and
garden plants can all destroy the render without you noticing.
🧱 1. The Building's Base (Foundations & Damp)
Look for blistering paint, white dust (salts) or green algae (mould)
just above the skirting board - these are signs of rising damp.
Ensure garden soil or climbing plants do not touch the render
directly (they retain permanent moisture). Leave a clear zone
(gravel) around the perimeter.
If you found issues during the inspection, see the table below on how to
proceed:
Finding during Inspection
Alert Level
Next Step (Action)
Fine cracks ( < 1mm) & Dried silicones
Low (DIY)
Buy acrylic/polyurethane mastic and seal the gaps immediately.
Faded paint / Chalking
Medium (Warning)
Schedule washing and spraying with siloxane resins
(waterproofing) in spring.
Hollow render or Blistering paint
High (Local Repair)
Call a tradesman for local removal and proper patching before
winter sets in.
Exposed rusted rebar or cracks > 3mm
Critical (Immediate Danger)
Call a Civil Engineer immediately. The problem is
structural, not cosmetic.
💡 Conclusion: With this simple, annual date with your house,
you will save thousands of euros from unnecessary renovations and sleep peacefully,
regardless of the weather outside!