1. Stop the Cause
Fix the pipe or apply thermal insulation (or at least use dehumidifiers and ventilate the house properly).
Do you see the wall in your living room or hallway turning yellow, the paint forming "blisters" and the render softening like dough? The strange thing is that the wall doesn't border the outside environment for rain to be the culprit, nor is it low to the floor for it to be rising damp from the foundations.
What happens when moisture hits the render from the... "back"? In these cases, you are facing one of the two following invisible enemies: a hidden plumbing leak or the phenomenon of condensation. Let's see how you will make the correct diagnosis before you start demolishing.
Inside the walls (under the render and bricks) runs a complex network of pipes: water supply, drainage, radiator pipes and air conditioner drains. A failure in a joint, a drill hole (if you recently put up a shelf) or the natural wear and tear of a copper pipe are enough to create a drop-leak.
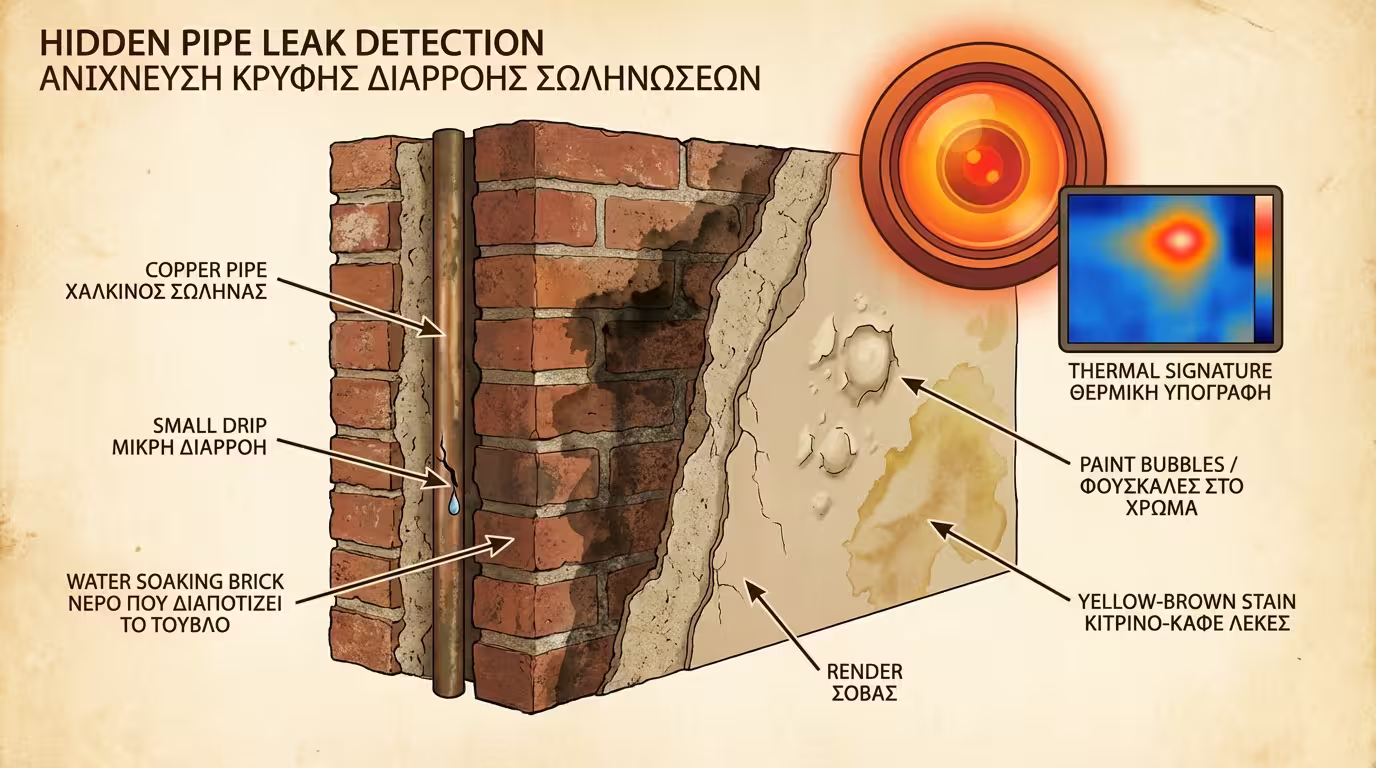
The Mistake of Haste: Don't call the tradesman to scrape and fill the wall if you don't find the source. If the leak continues, the new paint will fall off in two days. Call a plumber (ideally with a thermal camera or moisture meter) to locate the exact spot of the leak without digging up your whole house.
Here things get more complicated, because there is no broken pipe! The moisture is literally created from the air.
The air inside our home is full of water vapor (from cooking, bathing, our breathing). When this warm, moist air touches a freezing wall (a wall without external thermal insulation), it suffers a thermal shock.
The water vapor liquefies and becomes water droplets. This is called condensation.

How will you know which of the two is happening to your wall? Consult this quick guide:
| Symptom / Indication | Plumbing Leak (Pipe) | Condensation (Poor Insulation) |
|---|---|---|
| Finding / Appearance | Localized, specific stain (like a map) | Scattered, spreads over large surfaces / corners |
| Seasonality | Appears all year round (Winter - Summer) | Appears ONLY in Winter (when it's cold) |
| Location in the space | Near bathrooms, kitchens, radiators | On external, north-facing walls (behind furniture) |
| Stain Color | Yellow, brown (rust), white salts | Black, dark green, gray (Mold) |
| Solution | Plumbing repair & local patch | External Thermal Insulation & Proper Ventilation |
If your render has become soaked (either from a leak, or extreme condensation), restoration requires patience:
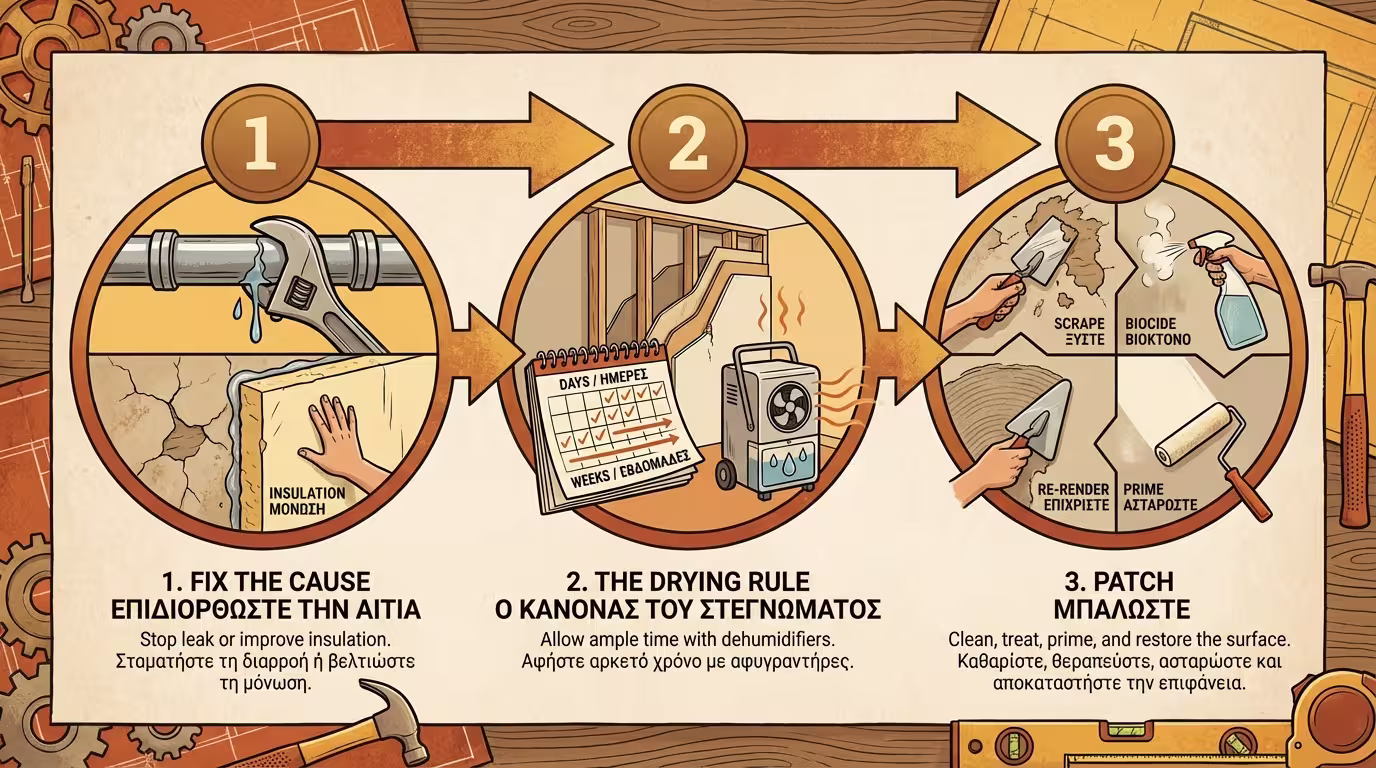
Fix the pipe or apply thermal insulation (or at least use dehumidifiers and ventilate the house properly).
If you found and repaired the leak, DO NOT render the hole immediately! The surrounding wall is full of water. You must leave the hole open for days or weeks (especially in winter) until the brick dries completely. You can help the situation by putting a dehumidifier or a fan heater to "blow" on the spot.
After the wall has dried, remove (scrape) all the loose parts of the old render that crumble. Apply an anti-mold liquid (if there is blackening), prime and apply the new material, according to the DIY patching instructions we saw in a previous article.
Return to category.
Go to categoryReturn to the central guide.
Go to guide